브라우저에서 실행 가능한 영상 확장자가 어느정도 정해져 있다고 한다.
보통 대부분 mp4는 잘 실행하고, mkv같은건 몇몇 브라우저에서 지원한다고 하는데
모든 브라우저에서 정상적으로 보이도록 동영상을 인코딩 하는 기능을 추가할 필요가 있다.
먼저 프로그램을 설치해야한다
https://www.gyan.dev/ffmpeg/builds/
Builds - CODEX FFMPEG @ gyan.dev
FFmpeg is a widely-used cross-platform multimedia framework which can process almost all common and many uncommon media formats. It has over 1000 internal components to capture, decode, encode, modify, combine, stream media, and it can make use of dozens o
www.gyan.dev
여기로 접속해서 아래 ffmpeg-7.1.1-full_build.7z 파일을 다운로드 받는다
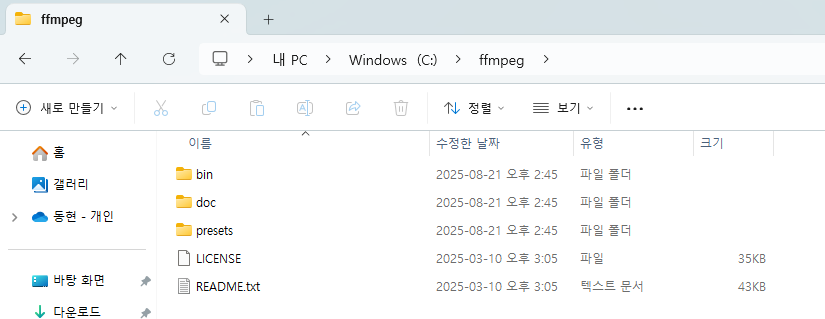
이후 해당 파일을 원하는 경로에 이동 시킨 뒤
(나는 C드라이브로 폴더명을 ffmpeg로 변경 시킨 뒤 이동시켰다)
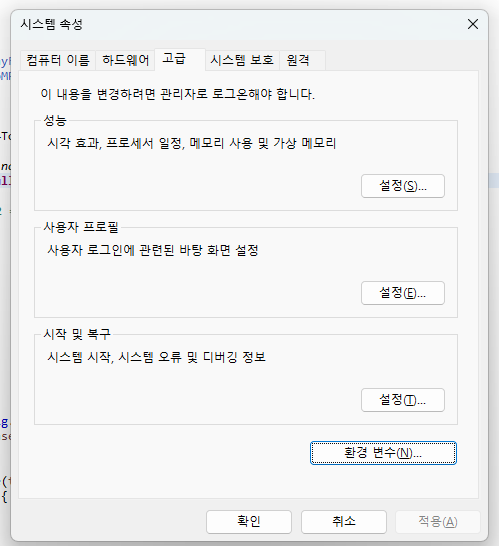
시스템 속성 들어가서 환경 변수 클릭
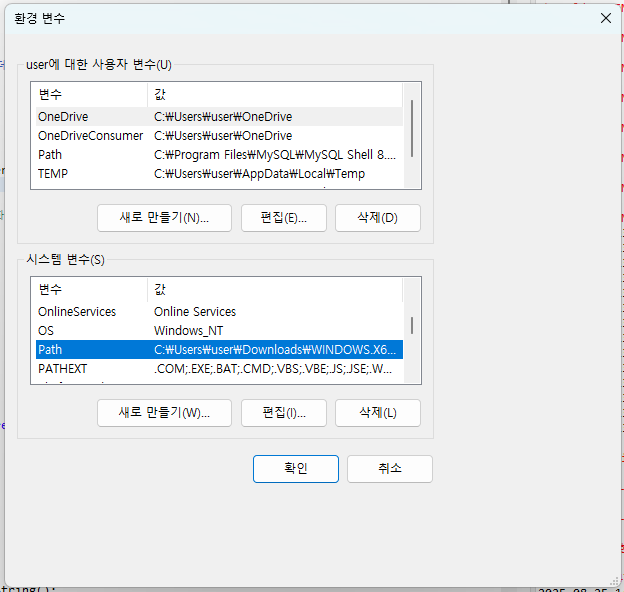
시스템 변수의 Path 선택 후 편집

본인이 이동시킨 폴더 아래 bin 경로를 추가한다.
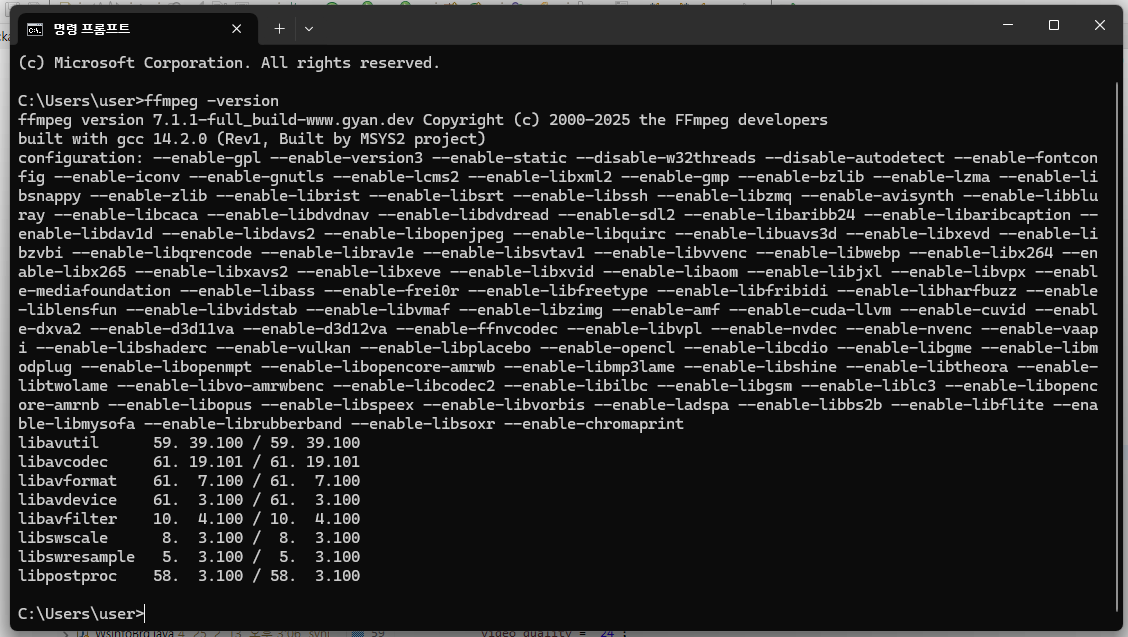
ffmpeg -version 으로 설치 확인
public String convertToWebMP4TodayFolder(String inputPath, Long quality) {
    // 오늘 날짜 문자열
    String today = LocalDate.now().format(DateTimeFormatter.ofPattern("yyyyMMdd"));
    String video_quality = null;

    // 1 ~ 4 범위, 1 = 저화질, 2 = 일반화질, 3 = 고화질, 4 = 원본화질
    if(quality == 1) {
        video_quality = "30";
    } else if(quality == 2) {
        video_quality = "24";
    } else if(quality == 3) {
        video_quality = "21";
    } else if(quality == 4) {
        video_quality = "18";
    } else {
        video_quality = "24";
    }

    // 오늘 날짜 폴더 경로
    String baseDir = abcConfig.getProperty("upload.video.real.location");
    String targetDirPath = baseDir + today + "/";

    // 디렉토리 없으면 생성
    File targetDir = new File(targetDirPath);
    if (!targetDir.exists()) {
        targetDir.mkdirs();
    }

    // 원본 파일명 추출
    Path sourcePath = Paths.get(inputPath);
    String originalFileName = sourcePath.getFileName().toString();

    // 확장자 제거하고 .mp4 붙이기
    String fileNameWithoutExt = originalFileName.contains(".")
            ? originalFileName.substring(0, originalFileName.lastIndexOf("."))
            : originalFileName;
    String outputFileName = fileNameWithoutExt + ".mp4";

    // 최종 출력 경로
    Path outputPath = Paths.get(targetDirPath + outputFileName);

    // FFmpeg 명령어
    String[] command = {
        "ffmpeg",
        "-i", inputPath,
        "-c:v", "libx264",
        "-preset", "fast",
        "-crf", video_quality,
        "-c:a", "aac",
        "-b:a", "128k",
        "-y",
        outputPath.toString()
    };

    try {
        logger.info("영상 인코딩 시작");

        ProcessBuilder pb = new ProcessBuilder(command);
        pb.redirectErrorStream(true);
        Process process = pb.start();

        // 변환 로그 출력
        BufferedReader reader = new BufferedReader(new InputStreamReader(process.getInputStream()));
        String line;

        while ((line = reader.readLine()) != null) {
            logger.info(line);
        }

        int exitCode = process.waitFor();

        logger.info("영상 인코딩 종료");

        if (exitCode == 0) {
            logger.info("변환 완료: " + outputPath);
        } else {
            throw new RuntimeException("변환 실패! 종료 코드: " + exitCode);
        }
    } catch (IOException | InterruptedException e) {
        e.printStackTrace();
        throw new RuntimeException("변환 중 오류 발생", e);
    }

    // 경로 반환 (백슬래시 → 슬래시 변환)
    return outputPath.toString().replace("\\", "/");
}
해당 코드는 이미 업로드 된 동영상 파일을 원하는 경로에 인코딩 시켜 놓는 코드이다
다른것보다 중요한건
// FFmpeg 명령어
String[] command = {
"ffmpeg",
"-i", inputPath,
"-c:v", "libx264",
"-preset", "fast",
"-crf", video_quality,
"-c:a", "aac",
"-b:a", "128k",
"-y",
outputPath.toString()
};
이부분인데
inputPath는 인코딩 할 동영상 위치이고
outputPath는 인코딩 해서 저장할 위치 + 파일명이다
참고로 해당 영상 파일의 이름 + 확장자로 끝나야한다 C:\Users\user\Videos\2025-08-22 11-51-56.mov 이런 식으로
outputPath는 웹에서 실행하기 좋게 mp4로 변환할꺼라 .mp4를 붙였다.
"-crf" 이부분이 동영상의 화질 설정하는 부분인데
낮을수록 고화질, 높을수록 저화질이다.
0 ~ 51까지 가능한데 보통 18 ~ 30정도를 사용한다는게 지피티 피셜이다.
'Java' 카테고리의 다른 글
| Java Servlet API에서 서버 파일 접근 차단하기 (0) | 2024.07.18 |
|---|---|
| 빌더 패턴 (Builder Pattern) (0) | 2024.07.09 |
| Cipher 클래스 - Java의 암호화 & 복호화 담당 (0) | 2024.04.24 |
| Try-Catch 자동 close (0) | 2024.02.26 |
| URI, URL, ContentPath, RemoteAddr 출력 (0) | 2024.02.22 |


