기존에 HTTP를 사용하다가 HTTP V1으로 마이그래이션 해서 모바일 푸쉬 알람이 전부 안돼서 수정..
처음 해봐서 정리하면서 진행했다
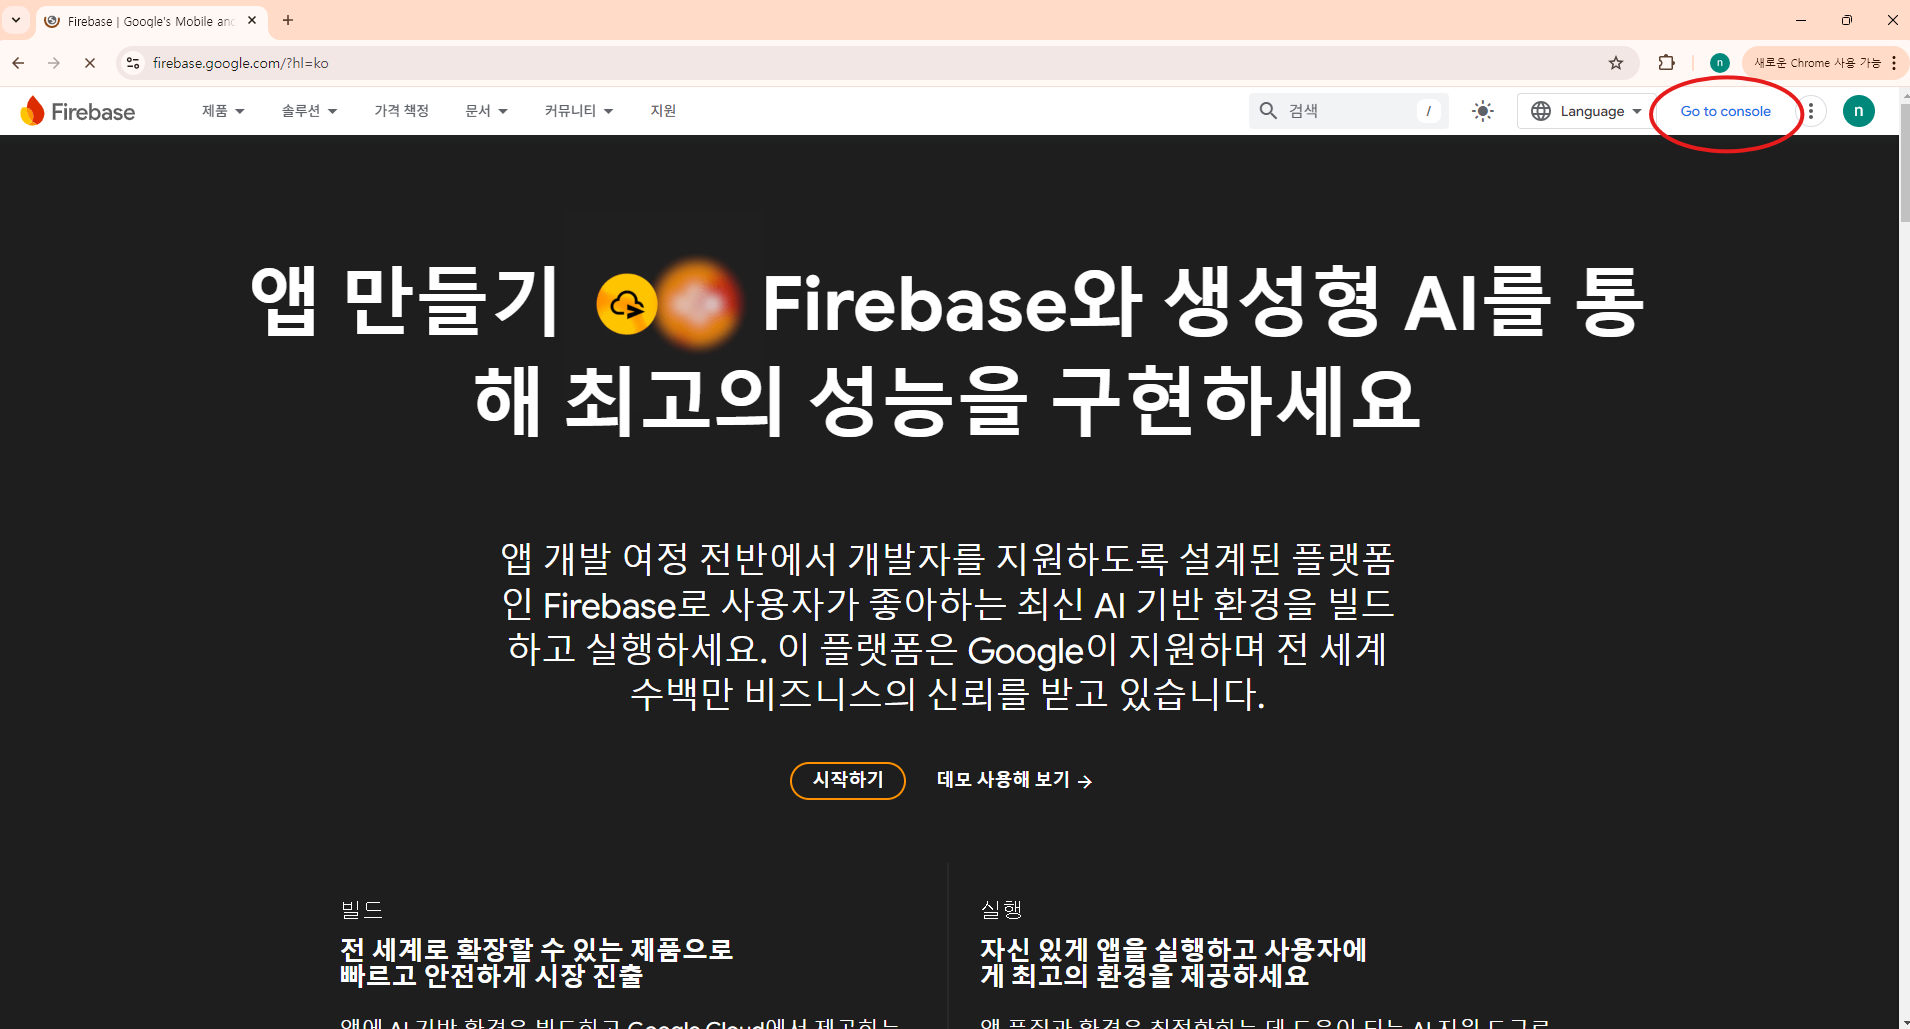
먼저 https://firebase.google.com/?hl=ko 에 접속한 다음, 구글 로그인 진행하고
우측 상단에 Go to console 눌러준다
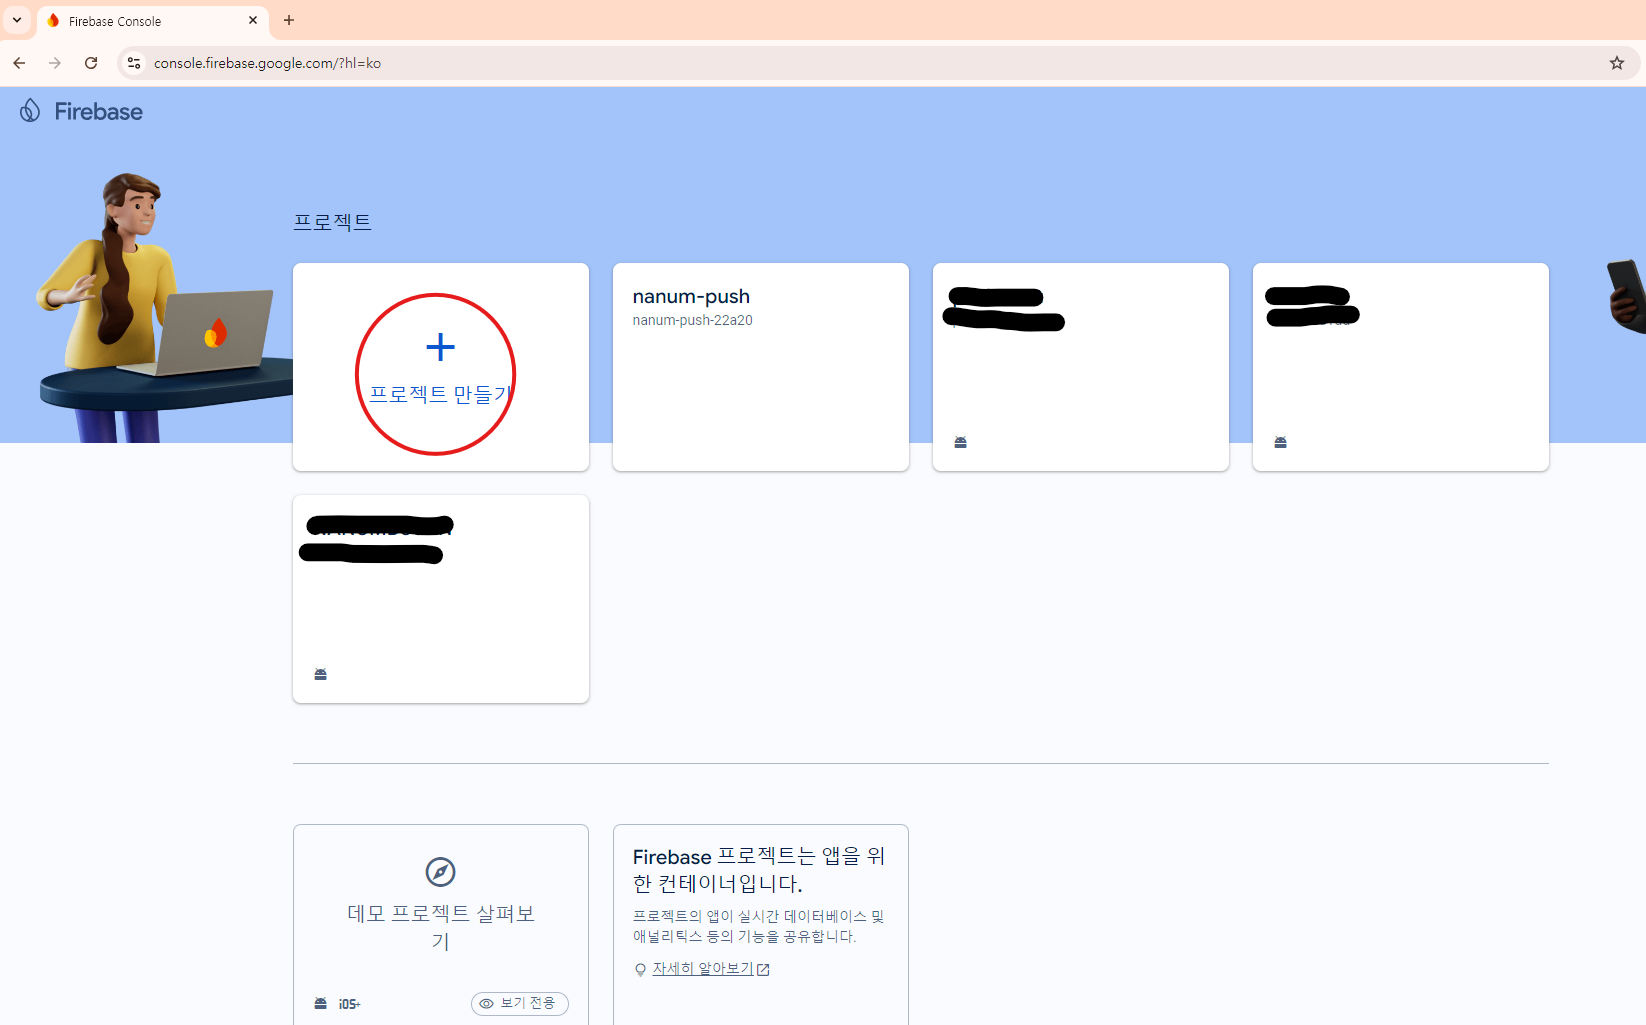
여기서 새 프로젝트 추가해주고
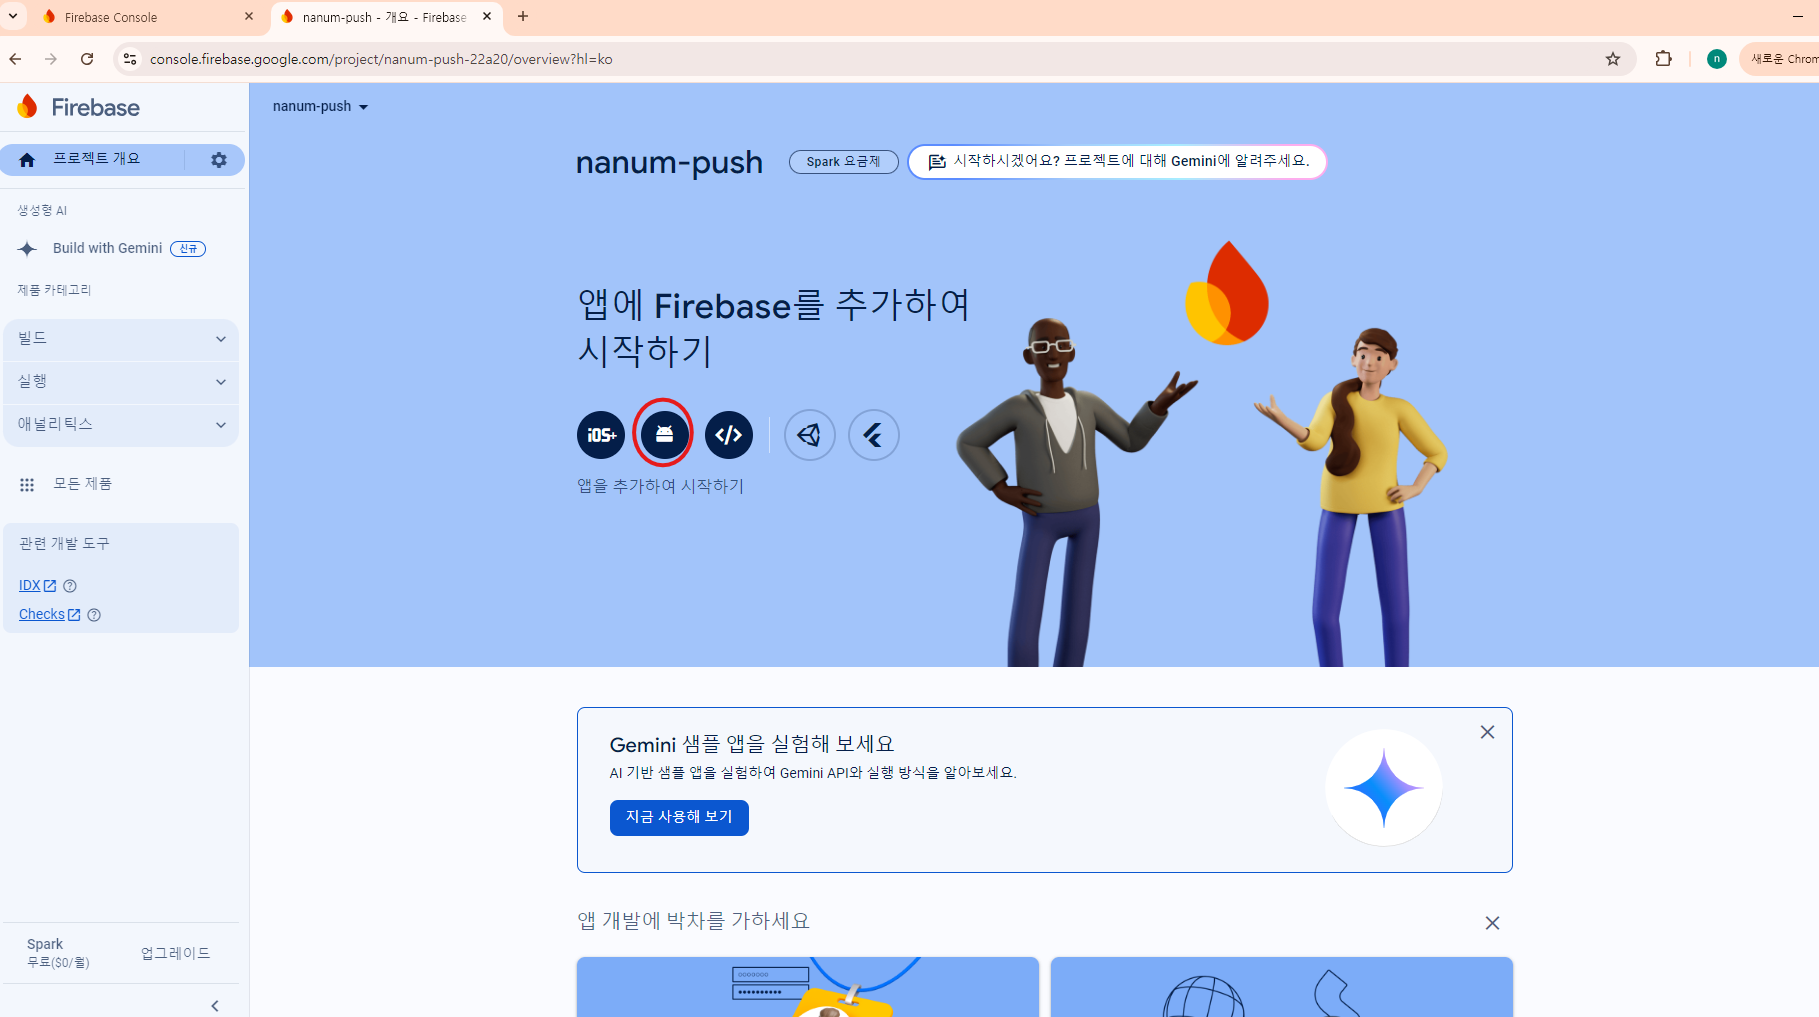
추후 아이폰도 작업 해야할거같은데 일단 안드로이드 클릭...
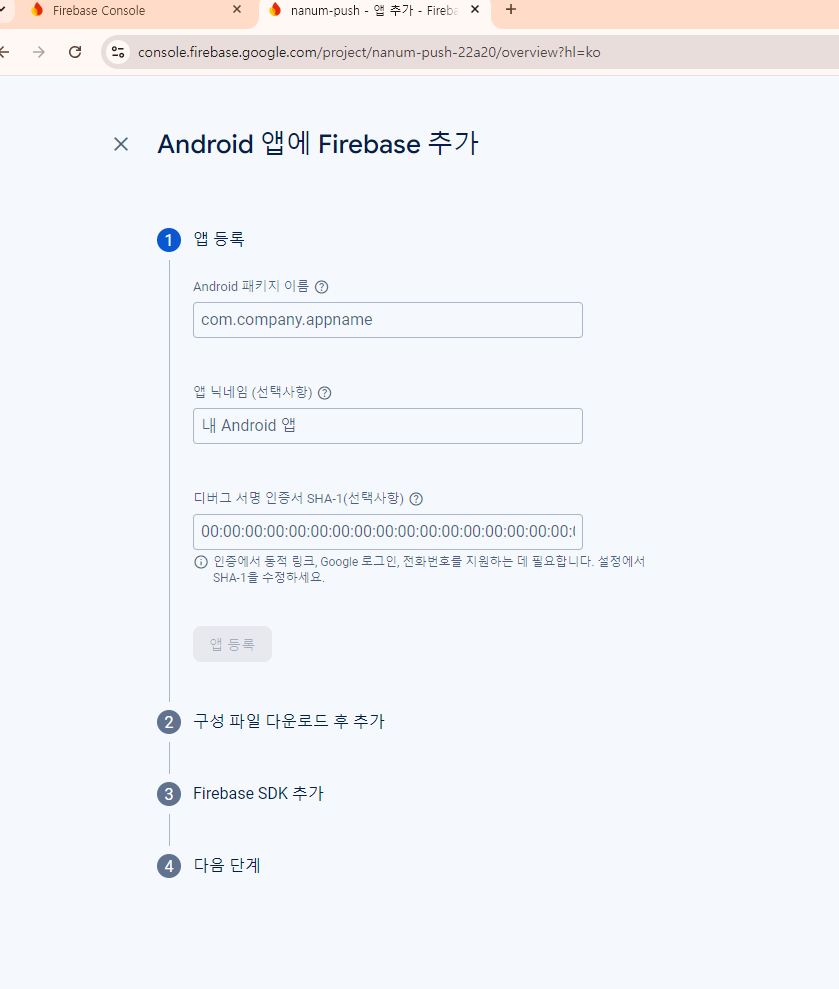
패키지 이름은 반드시 일치해야함
안드로이드 스튜디오 열어서 build.gradle(:app)에 applicationId 확인

다음은 버튼 눌러서 json 파일 다운로드받고 저 위치에 넣어주면 된다
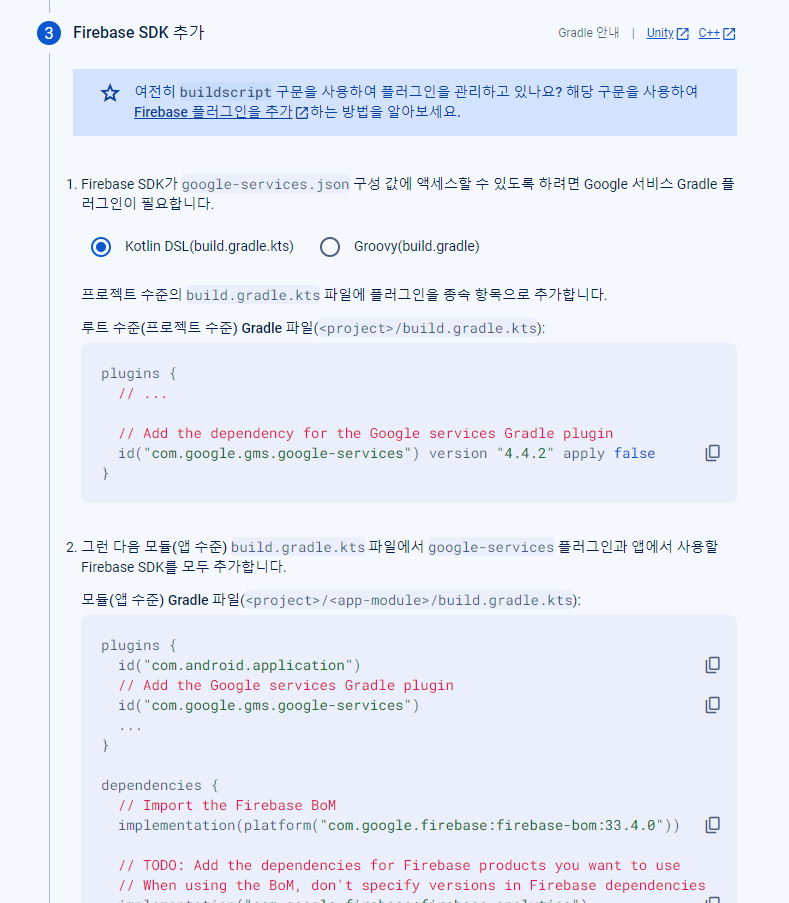
이것도 그냥 따라서 진행하면 됨
build.gradle(:app)에
apply plugin: 'com.android.application',
apply plugin: 'com.google.gms.google-services'
추가함
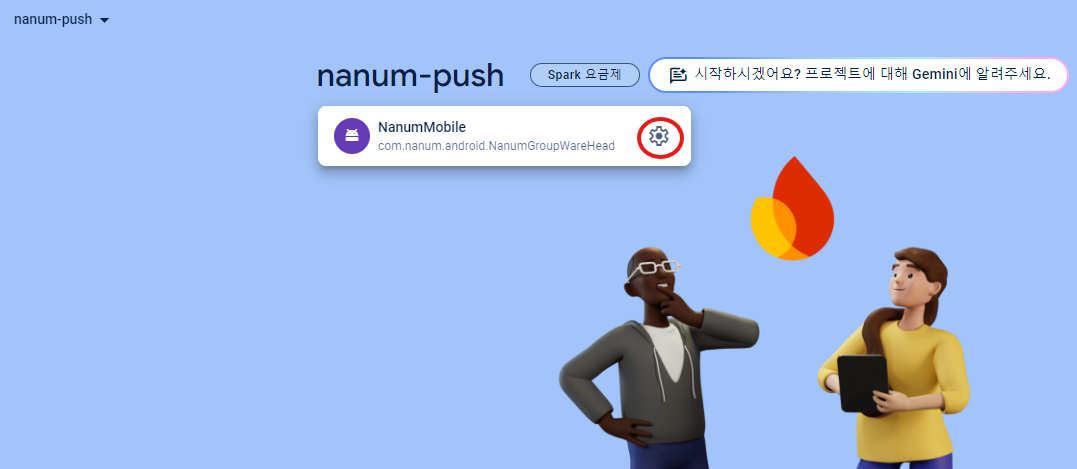
완료했으면 해당 프로젝트 누르고 들어가서 프로젝트명 누르면 저렇게 톱니바퀴 뜨는데 누르고
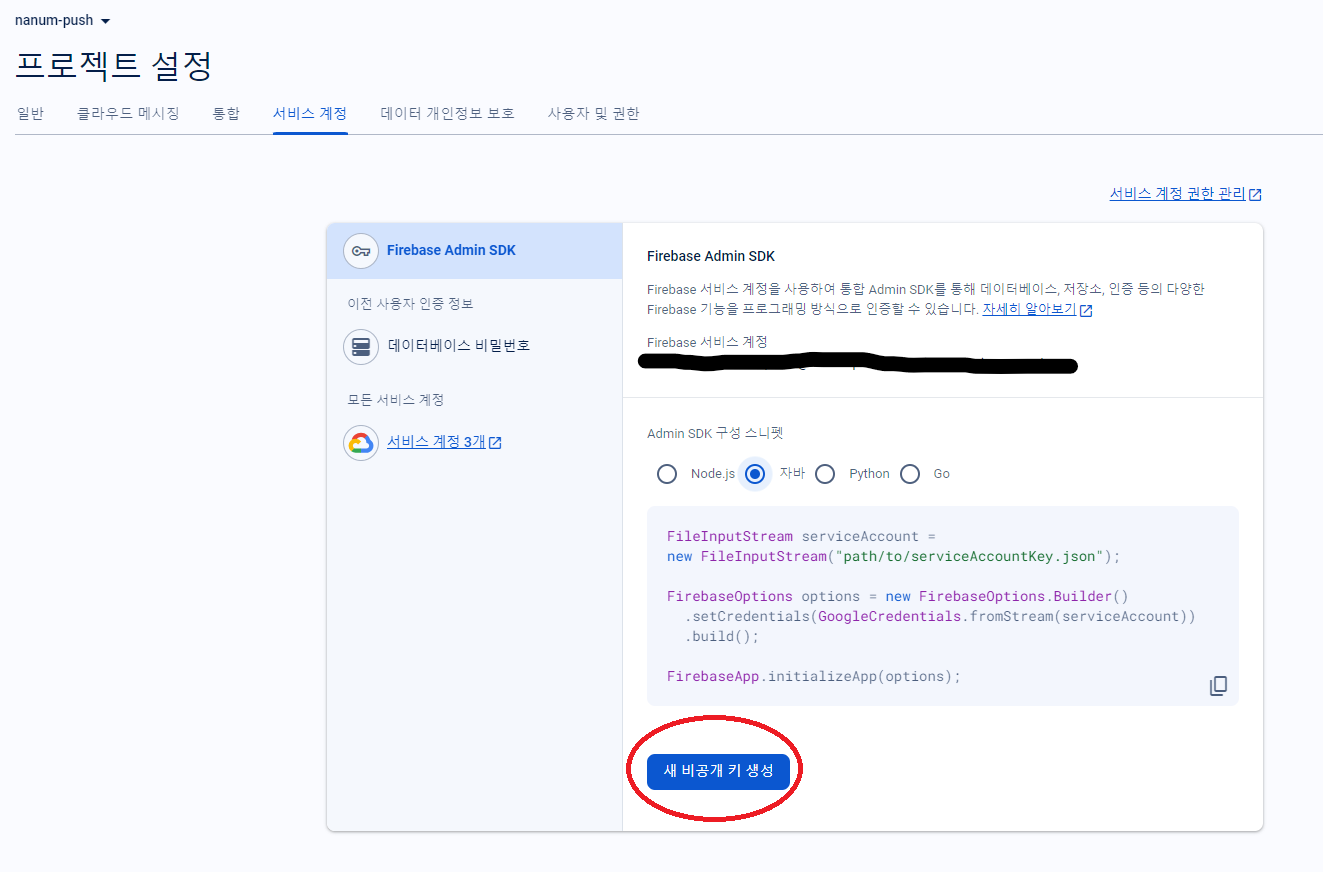
서비스 계정 들어가서 비공개 키 생성해서 json 파일 다운로드 받는다
이 파일은 본인이 사용중인 푸쉬 알림 서버에 넣어서 사용하면 됨
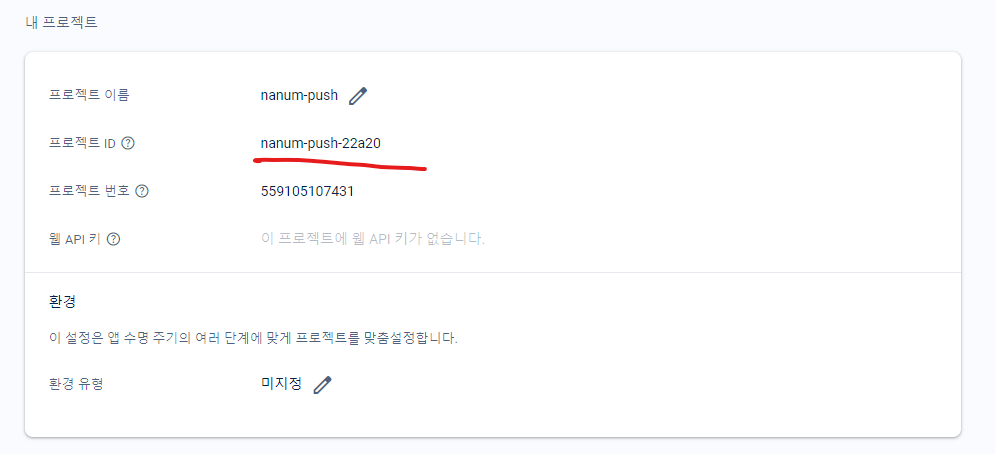
그리고 프로젝트 ID는 필요하니 적어두기(일반 탭에 있음)
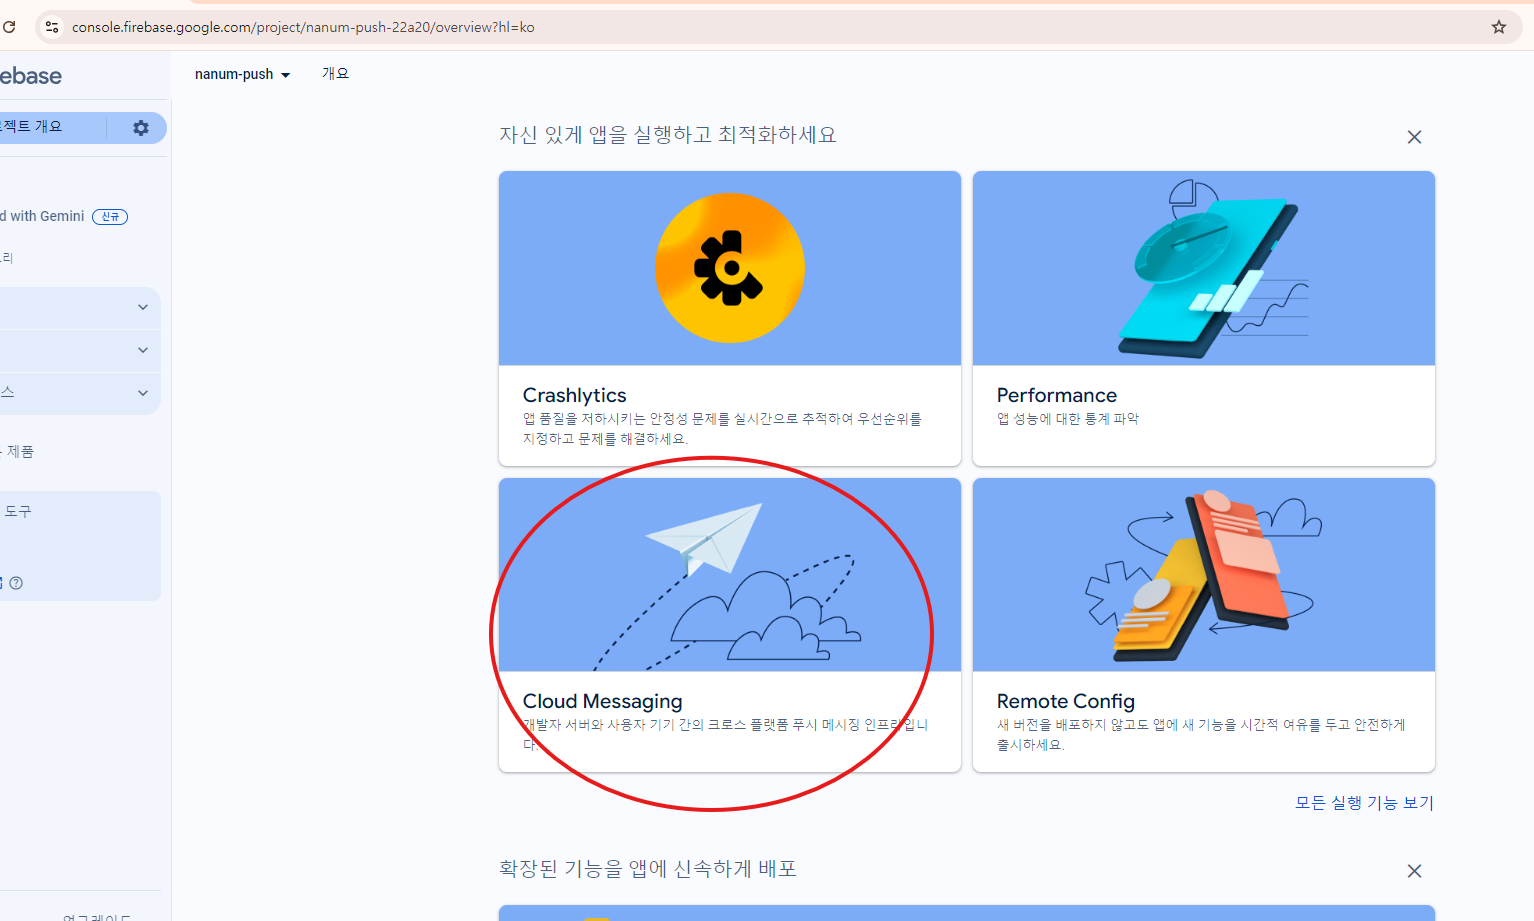
다음은 프로젝트 선택하고 들어간 페이지에서 아래로 내려서 클라우드 메세징 클릭
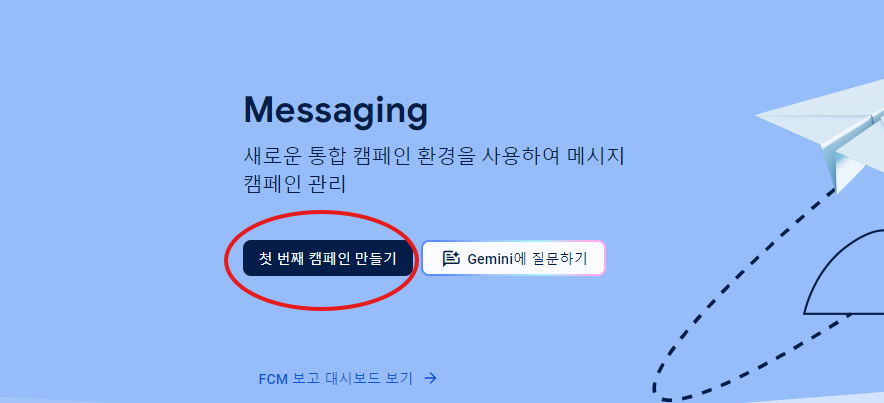
첫 번째 캠페인 만들기 클릭
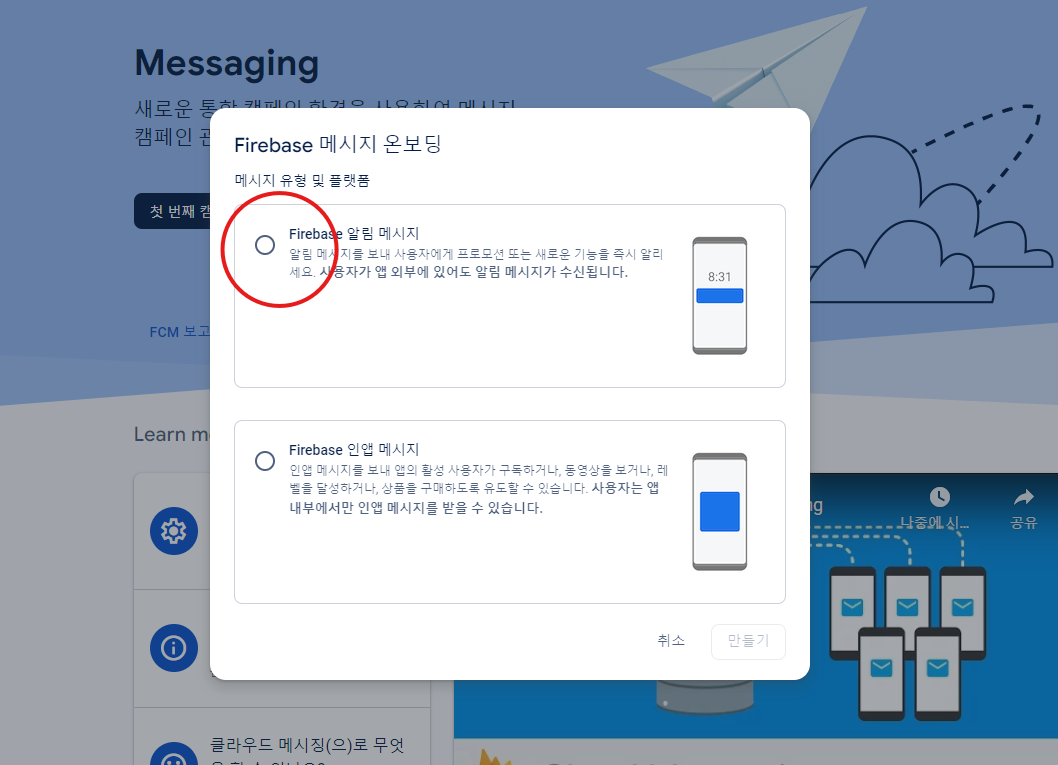
알림 띄울거니 저거 선택
이후 그냥 시키는대로 진행하고 게시하면됨
이제 firebase 웹사이트에서 볼일은 끝났고
코드로 가서
private String getAccessToken() throws IOException {
	File authKeyfile = new File(FIREBASE_ACCOUNT_FILE_DIRECTORY + FIREBASE_ACCOUNT_FILE_NAME);
	InputStream is = new FileInputStream(authKeyfile);

	GoogleCredentials googleCredentials = GoogleCredentials
			.fromStream(is)
			.createScoped(Arrays.asList(FIREBASE_SCOPE_URL));

	googleCredentials.refreshIfExpired();

	return googleCredentials.getAccessToken().getTokenValue();
}
이 함수 만들어주기
메세지 보낼때 접근 허용하는 토큰 만드는것
보면 FIREBASE_ACCOUNT_FILE_DIRECTORY, FIREBASE_ACCOUNT_FILE_NAME, FIREBASE_SCOPE_URL 이렇게 3개 사용중인데
각각
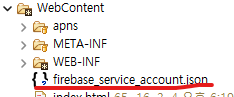
FIREBASE_ACCOUNT_FILE_DIRECTORY = 파일 경로
FIREBASE_ACCOUNT_FILE_NAME = 아까 비공개 키 생성한 json 파일 이름
둘이 합쳐서 그냥 C://...../PushProvider/WebContent/key.json 이런느낌
FIREBASE_SCOPE_URL = https://www.googleapis.com/auth/firebase.messaging
이건 고정으로 사용
다음은 저 토큰을 사용해서 push를 보내는 함수
형식에 맞춰서 post로 보내면 됨
	@Override
	public String sendPush(UserInfoVO userInfo, String send_message,
			String module_type) {
		String userID = userInfo.getUserID();
		String device_token = userInfo.getDevice_token();
		String alert_type = userInfo.getAlert_type();
		logger.debug("===================android======================");
		logger.info("[userId] : " + userID + "\t\t[type] : " + module_type );
		logger.debug("Android = " + device_token);

		if (!isPush(userInfo, module_type)) {
			logger.debug(module_type + " is set push N");
			logger.debug("===============================================");
			return null;
		}

		Map<String,Object> params = new HashMap<String,Object>();
		Map<String, Object> notification = new HashMap<String,Object>();
		notification.put("title", "알림이 도착했습니다.");
		notification.put("body", send_message);

		Map<String,Object> message = new HashMap<String,Object>();

		message.put("token", device_token);
		message.put("notification", notification);

		params.put("message", message);

		ByteArrayOutputStream baos = null;
		InputStream           is   = null;
		try {
			URL url = new URL(FIREBASE_PUSH_URL);
			HttpURLConnection conn = (HttpURLConnection) url.openConnection();
			conn.setDoOutput(true);
			conn.setRequestMethod("POST");
			conn.setRequestProperty("Content-Type", "application/json;UTF-8");
			conn.setRequestProperty("Authorization", "Bearer "+ getAccessToken());

			String input = getJsonStringFromMap(params).toString();
			OutputStream os = conn.getOutputStream();
			os.write(input.getBytes());
			os.flush();

			if (conn.getResponseCode() != HttpURLConnection.HTTP_OK) {
				throw new RuntimeException("Failed : HTTP error code : "
					+ conn.getResponseCode());
			}
			is = conn.getInputStream();
		    baos = new ByteArrayOutputStream();
		    byte[] byteBuffer = new byte[1024];
		    byte[] byteData = null;
		    int nLength = 0;
		    while((nLength = is.read(byteBuffer, 0, byteBuffer.length)) != -1) {
		        baos.write(byteBuffer, 0, nLength);
		    }
		    byteData = baos.toByteArray();
			conn.disconnect();
			logger.debug(new String(byteData));
			return new String(byteData);

		  } catch (MalformedURLException e) {
			e.printStackTrace();
			return null;
		  } catch (IOException e) {
			e.printStackTrace();
			return null;
		 }
	}
여기서 봐야할건 일단 보내는 주소가
FIREBASE_PUSH_URL = https://fcm.googleapis.com/v1/projects/프로젝트ID/messages:send 이고
여기 쓰려고 프로젝트ID를 기억해야함
아까 만든 토큰은
conn.setRequestProperty("Authorization", "Bearer "+ getAccessToken());
이렇게 넣어주면 됨 Bearer 하고 한칸 띄우고 토큰값
이러고 이 함수를 실행하면 이제 userInfo에 들어있는 device-token을 참조해서 거기로 메세지를 보내줌
device-token은 위에서 함수로 만든 토큰과 다른거임
device-token은 따로 푸쉬 전용 테이블이나 db 만든 다음 로그인 시 저장했다가 사용하면 됨
만드는건 이런식
FirebaseInstanceId.getInstance().getInstanceId().addOnSuccessListener( new OnSuccessListener<InstanceIdResult>() {
	@Override
	public void onSuccess(InstanceIdResult instanceIdResult) {
		regId = instanceIdResult.getToken();
... 이하 생략'안드로이드' 카테고리의 다른 글
| 안드로이드 앱 내에서 apk 파일 설치하기 (0) | 2024.11.28 |
|---|---|
| 패러미터로 인터페이스 전달하기 (0) | 2024.09.10 |
| WebView(웹뷰) 로만 접근 가능하게 만들기 User-Agent (0) | 2024.07.17 |
| SharedPreferences (0) | 2024.06.14 |


